Configuring notifications
To configure notifications:
1. On the menu, click …. The Options dialog appears.
NOTE: To configure notifications from a Capture Engine, open the Capture Engines window and connect to a Capture Engine.
2. Click the Notifications options. (For a Capture Engine, select the Notifications tab.)
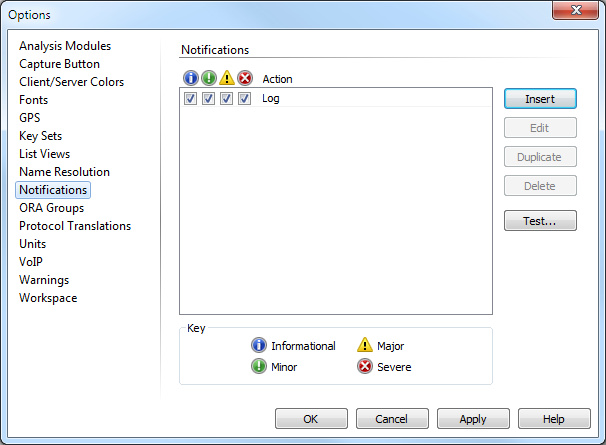
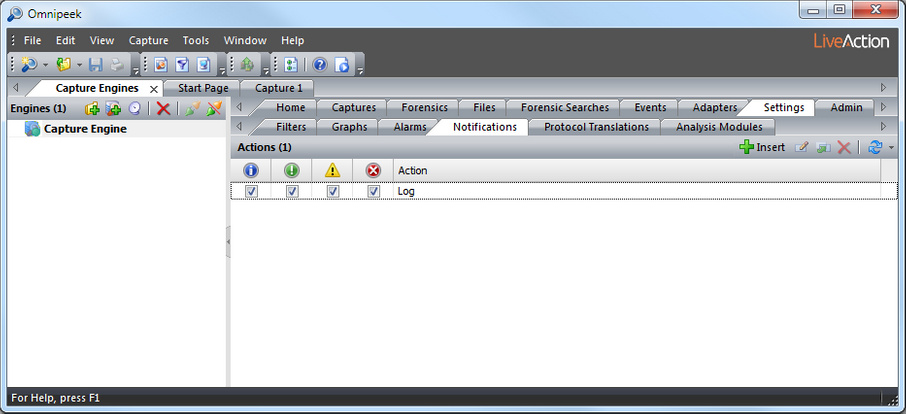
Any actions currently defined are displayed. By default, the Log action is the only action defined when no other actions have been created.
The buttons in the Notification views are as follows:
• Insert: Click to create a new action.
• Edit: Click to edit the selected action. (Double-clicking an Action also lets you edit the selected action.)
• Duplicate: Click to duplicate the selected action.
• Delete: Click to delete the selected action.
• Test (Omnipeek console only): Click to edit the long and short messages of a sample notification, set the severity of the test notification, then test the notification settings for that severity level.
• Refresh (Capture Engine only): Click to refresh the view.
NOTE: Click to define a new action. See Creating a notification action.
3. For each action, select the level of severity check box that will start the action whenever the level of severity is generated by the program.
The four levels of severity are:
• Informational
• Minor
• Major
• Severe
4. Click .
NOTE: For a Capture Engine, you can right-click inside the Notifications tab to access the Test Notification dialog. From the dialog, choose a severity and enter a short and long description, and click . When testing email, the short description becomes the subject line and the long description is the email body.